Locked Pages
- Overview
- Creating User Groups
- Locking Pages
- Assigning attendees to user groups
- Accessing locked pages
Overview
In some cases you may want to share a locked page with a user. A locked page is a page on your site that is restricted from public viewing. The page is only available to users within a specific user group.
Creating User Groups
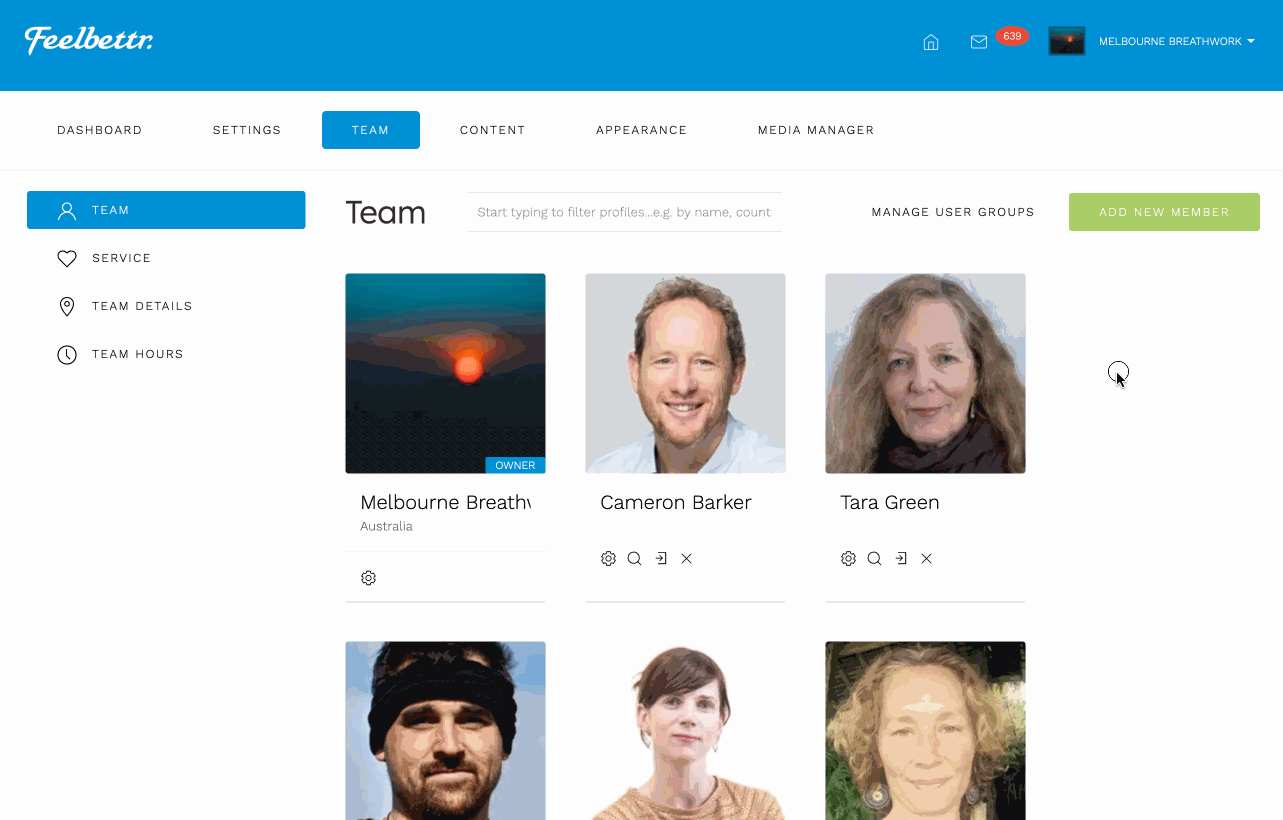
In your dashboard navigate to the team page.
- https://www.naturalmedicinewebsites.com/dashboard/profile/team
- Click the Manage user groups button
- Add the name of your user group
- Click the add button
- De-select the star next to the name of the user group. Only "non-featured" user groups can be used for sharing pages with.
Locking Pages
Once you have created the user group you want to assign the page to, navigate to the edit page of the page you want to lock.
Once in the edit screen:
- Click the page settings button
- Click the permissions tab
- Select the group you want to assign the page to
- Click the add button
- Save the page
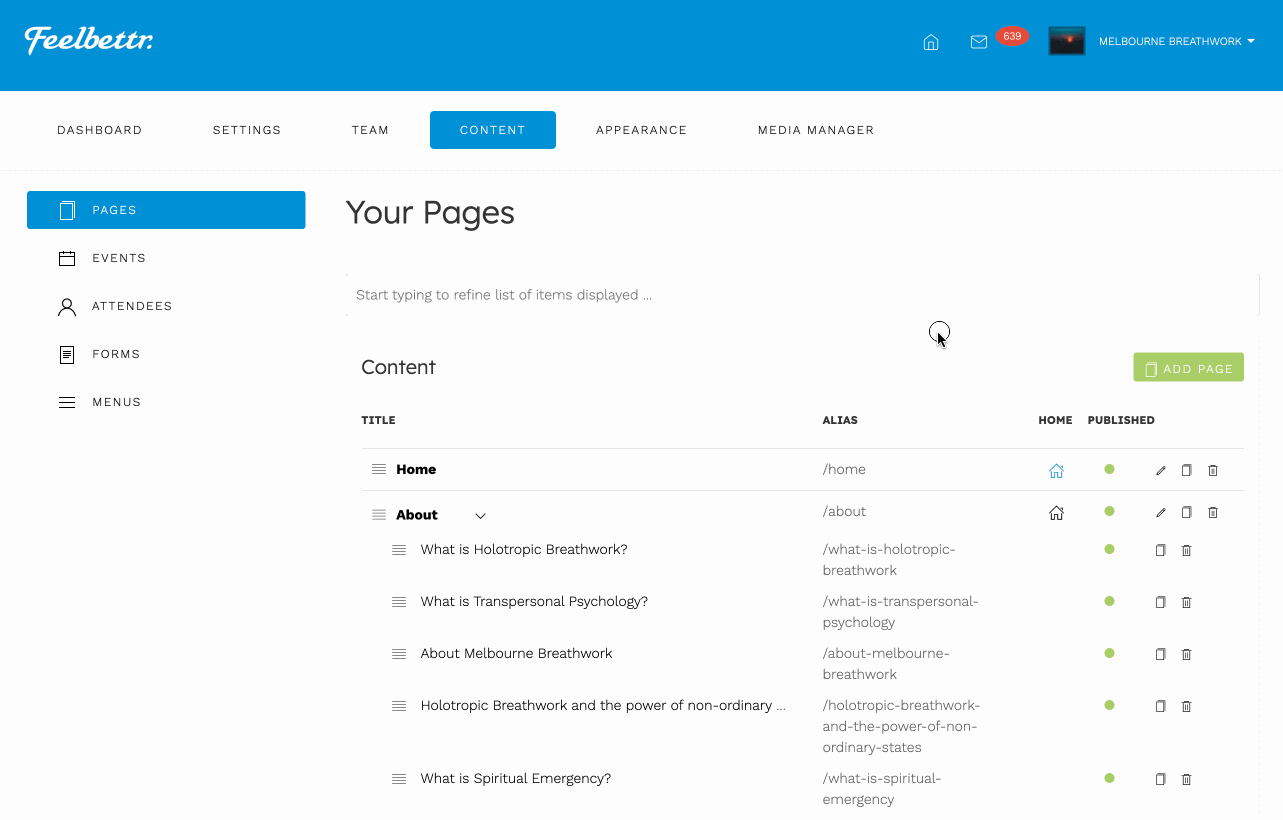
Please note: it is possible to assign multiple groups to a single page.
Manually assigning attendees to user groups
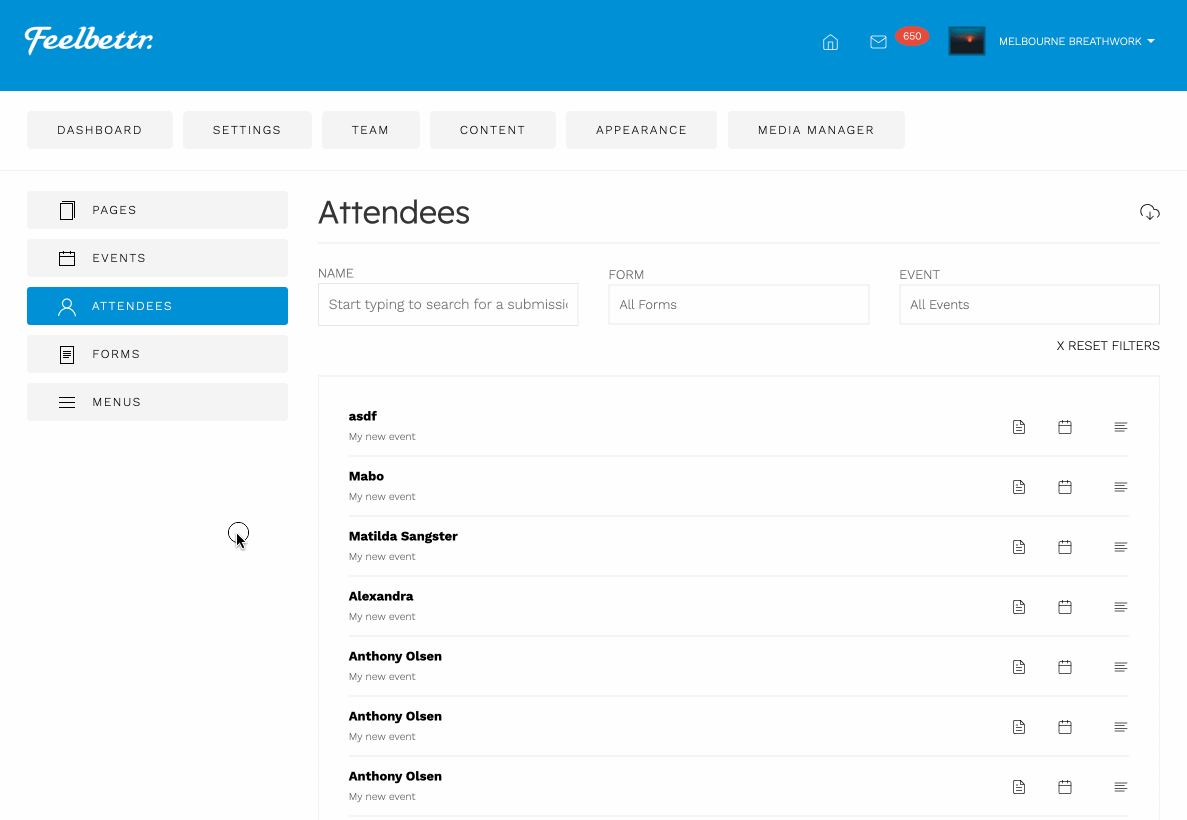
- Navigate to the attendee list
- Find the attendee you wish to add to the group
- Click the + button in the user group section or select the user group from the user group drop down
- Click the add user group button
- Scroll to the top of the panel and click the Mark has paid button - the shopping cart icon. (This feature will be automated int he future)
Automatically assigning attendees to user groups
- Navigate to an event that you want to use to grant access to certain groups
- Navigate to the attendee settings
- Scroll down and add the user groups you want to associate with the group
- Save the event
- Navigate to the attendee list
- Click on an attendee that has registered for that event
- Now you should be able to see that thye have automatically assigned to the user groups specified in the previous steps.
- Now click the lock in the top of the panel or the link that says allow access. The allow access function is used in order to allow the granting and revoking of access to those user groups for that attendee. In future versions this process will be automated.
Accessing locked pages
Now that you have locked a page and also assigned attendees to a user group we can see on the website that the content of the page is no longer available and a login screen with a message can be seen.
Gaining acess
Now when the user visits the locked page and after entering their name and email address the user can see all of the content for that page.

If the user has no access
If the name and email entered by the user does not match the record of an attendee assigned to the group that is assigned to the page then the user will not be able to gain access.
