Header Settings
Overview

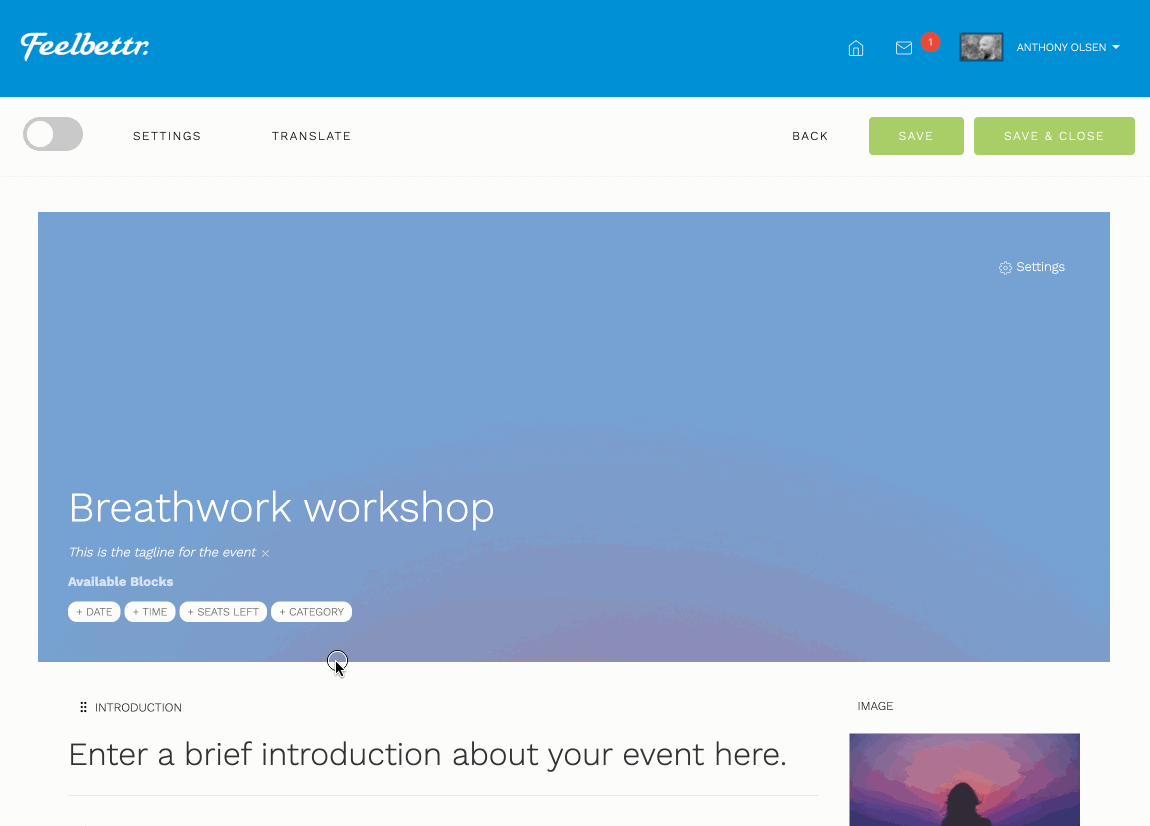
Header content

The header contains a number of available "blocks" of content. The blocks available for the header area include:
- title * required
- tagline
- category
- event seats left
- start / end date
- start / end time
Adding and removing items
Items can be added to the header by clicking on the tag for that item. When the user clicks the header block it is automatically added to the next available content area in the header.

To remove an item from the header the user can click on the x near the block.
If a content block relates to a setting that can not be edited in place ie the start and end date for an event the user can click on the start and end date block and the settings panel will open that is relevant to that setting.
Please note
The header content blocks can not be drag and dropped to be re-ordered as they can be in the main content. In order to change the order of the blocks displayed the user must remove the blocks and then re-add them in the desired order.
Main Header Settings
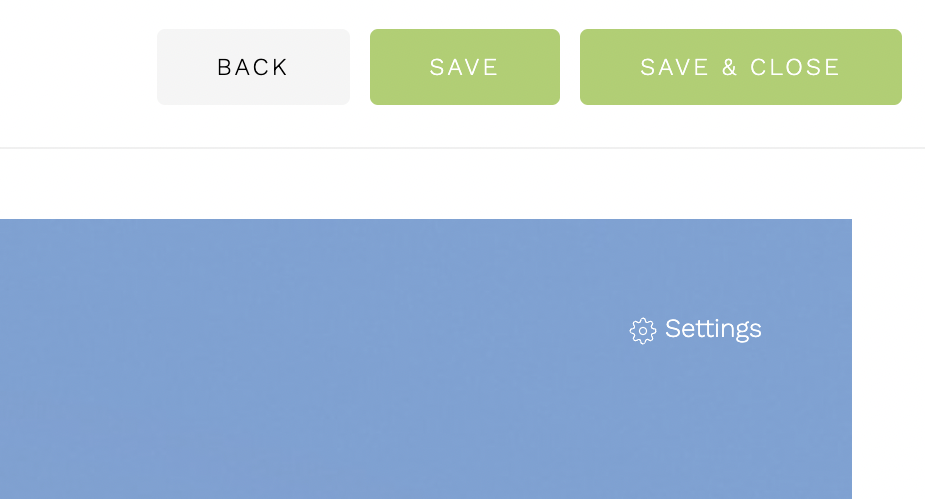
The settings panel is shown by clicking the settings link in the header area or by clicking the header settings link in the main settings panel.
Settings
Header text style
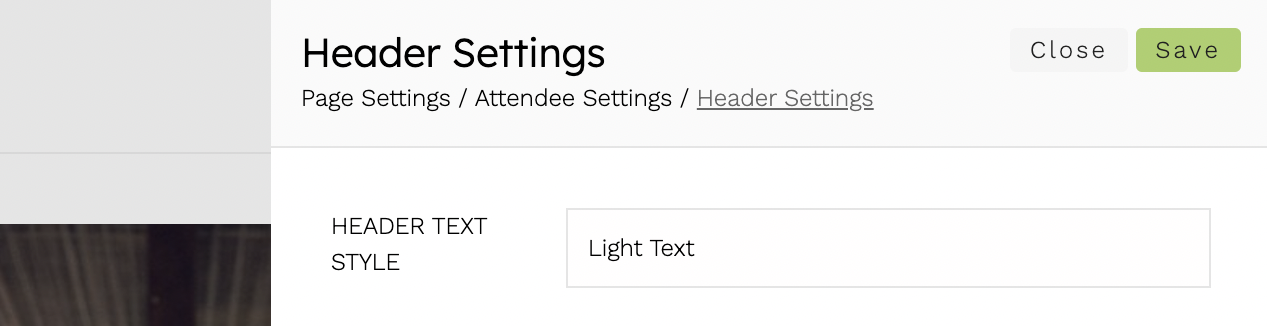
Options include light or dark text depending on the colour overlay and background image used.
Title Overlay
The overlay title on header image option determines where the title block of content is positioned.

When this option is enabled the title and any other enabled meta data is shown on top of the image.
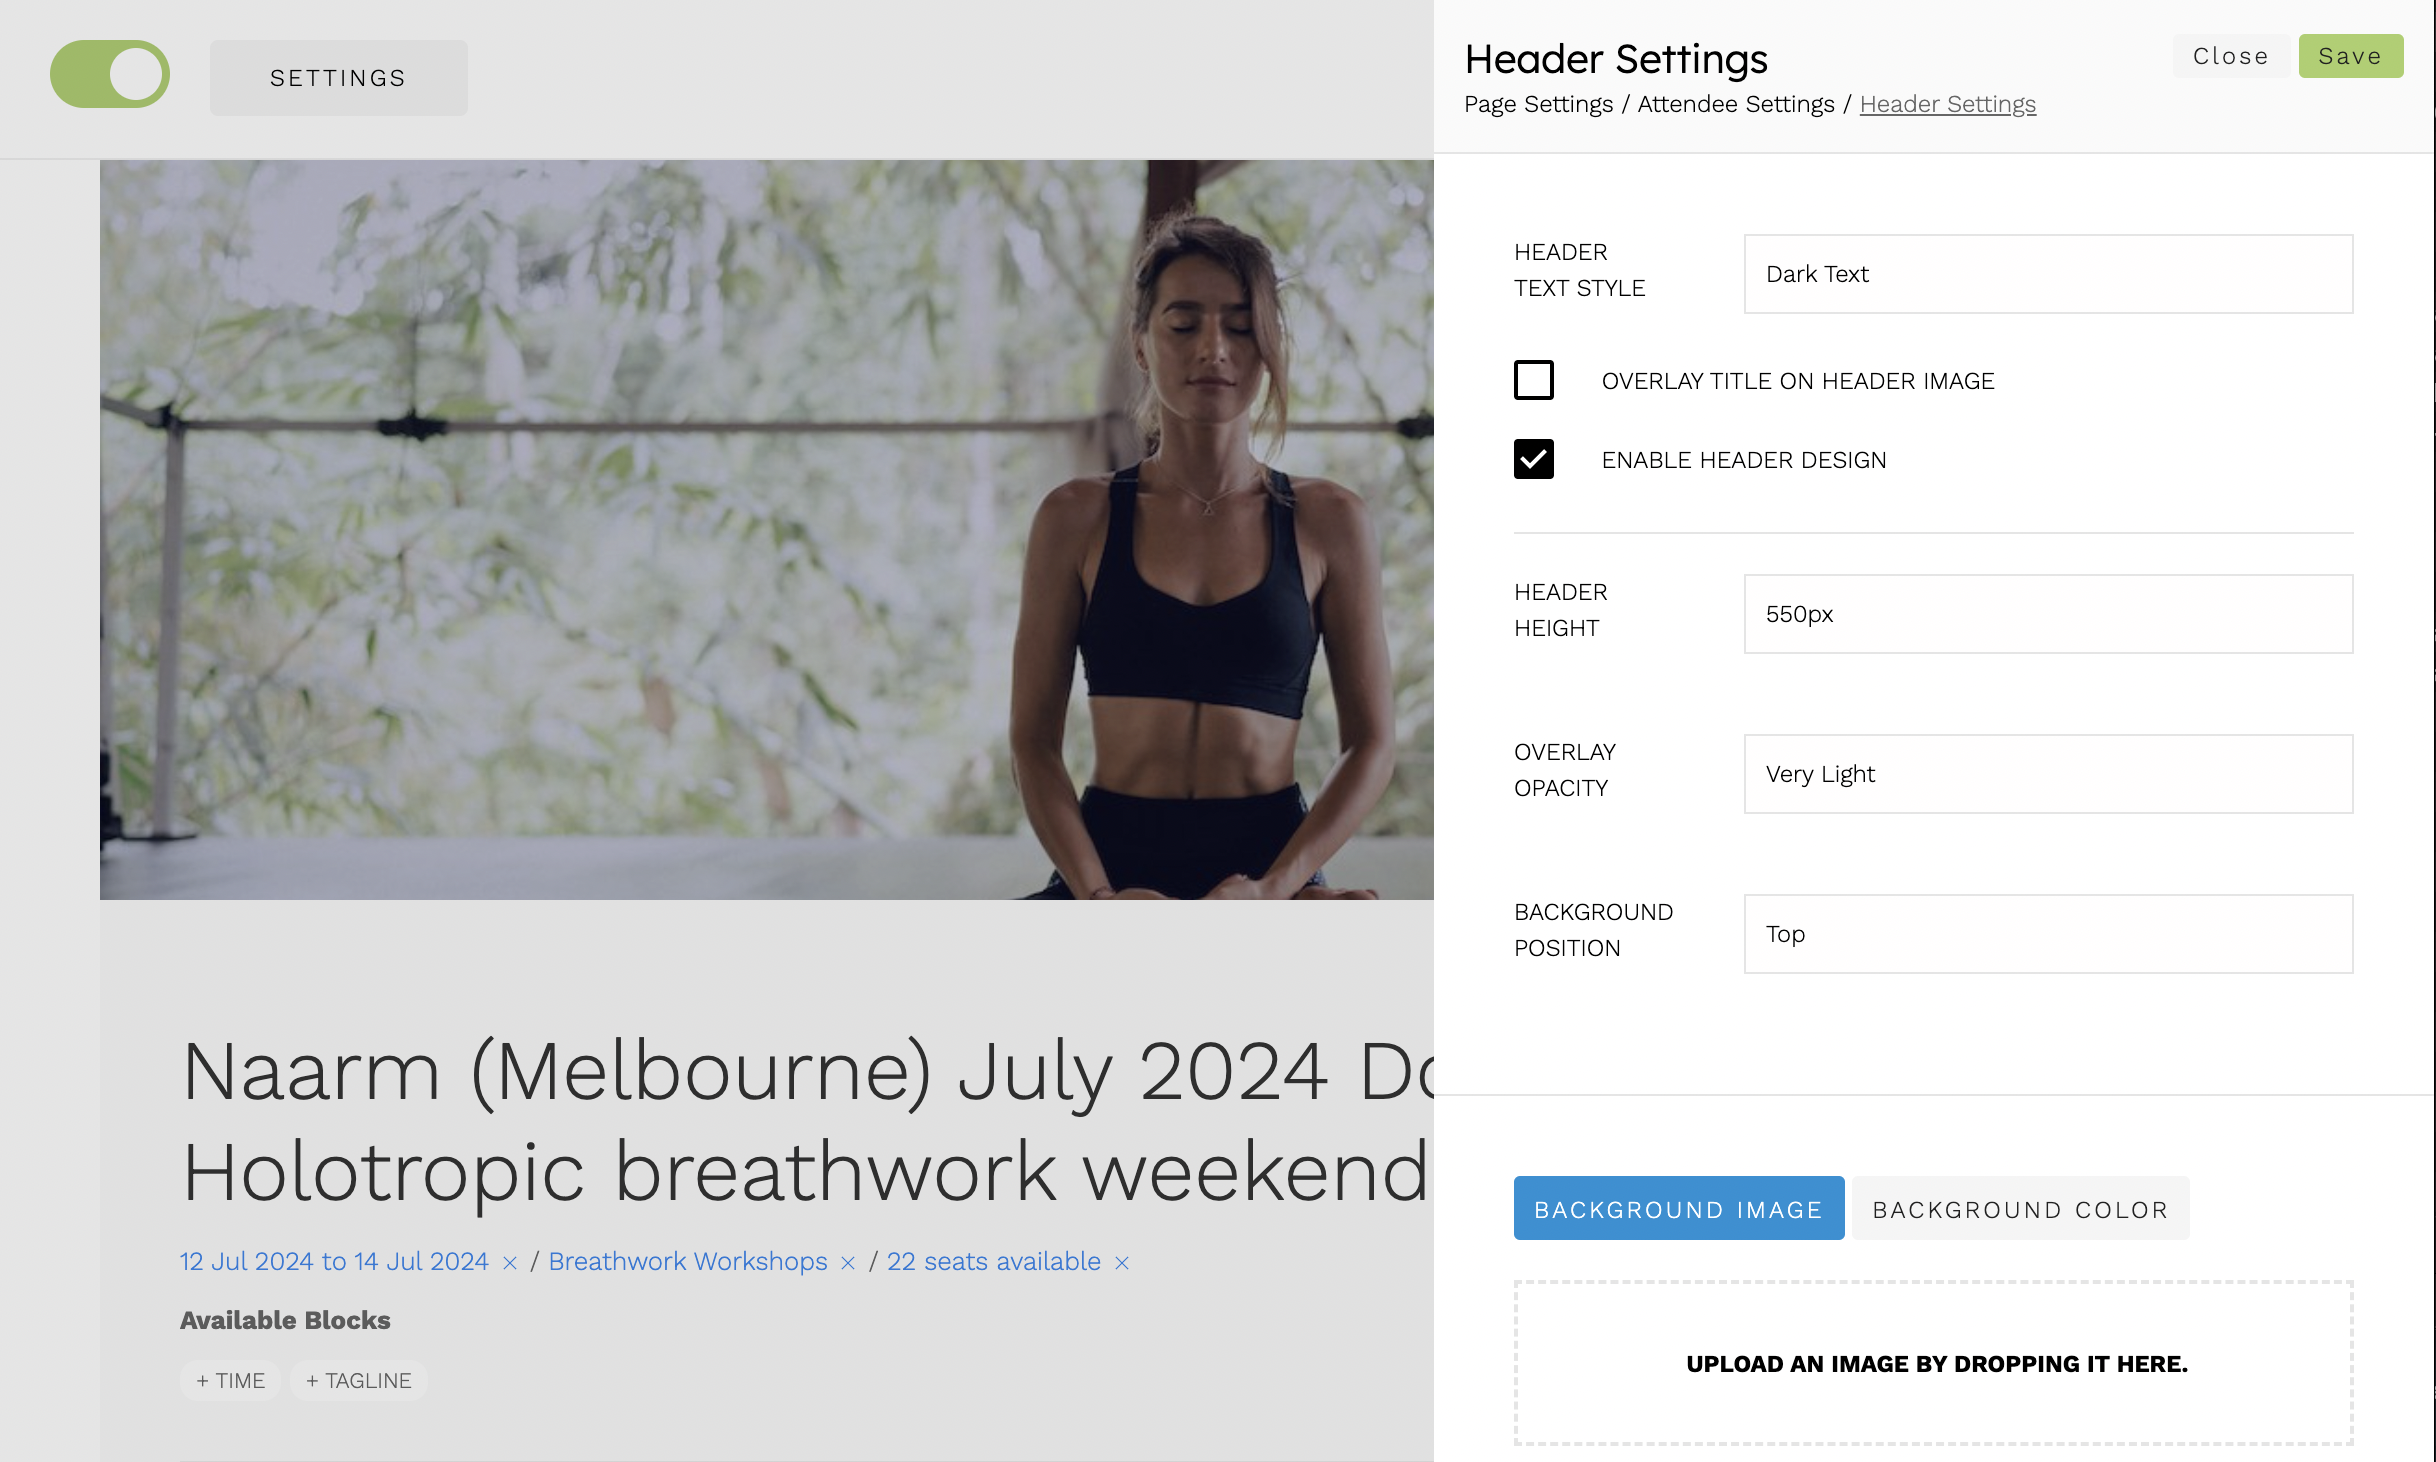
When this option is disabled the title and any other meta data is shown beneath the image in the main content area.
Header Design
There are essentially two modes available when designing the header for your event - with or without the header design.
Header design enabled

When header design is enabled the header image stretches and covers the available space for the header area. it is also possible to add an optional colour overlay on top of the image in order to provide more contrast for your image text.
This is the preferred way of displaying an event if your image does not require specific text or parts of the image to be seen.
When this option is enabled the following settings are available.
-
Header Height The height of the header area. Value can be in pixels eg 600px or in viewport height eg 60vh (roughly equivalent to 60% of the height of the screen)
-
Overlay Opacity The relative transparency of the colour overlay used in the header. Values include
- Transparent (0% or no colour)
- Very Light (20%)
- Light (40%)
- Medium (60%)
- Dark (70%)
- Very Dark (85%)
- Opaque (100% or full colour)
-
Background position Options include top, center and bottom. This determines the positioning of the image relative to the header container. The image will autoamtically stretch to fill the entire header area but due to the dimensions of the header the entire image may not be seen. If this is the case, this setting determines the part of the image to give visual priority to.
Header design disabled

When this option is disabled the image fills the area of your header based on the dimensions of your image. it is not possible to use the overlay colour in this instance.
This is best applied when the image you are using has specific text that needs to be visible at all times or if you wish the end user to be able to view all parts of the image at all times.
Background Image
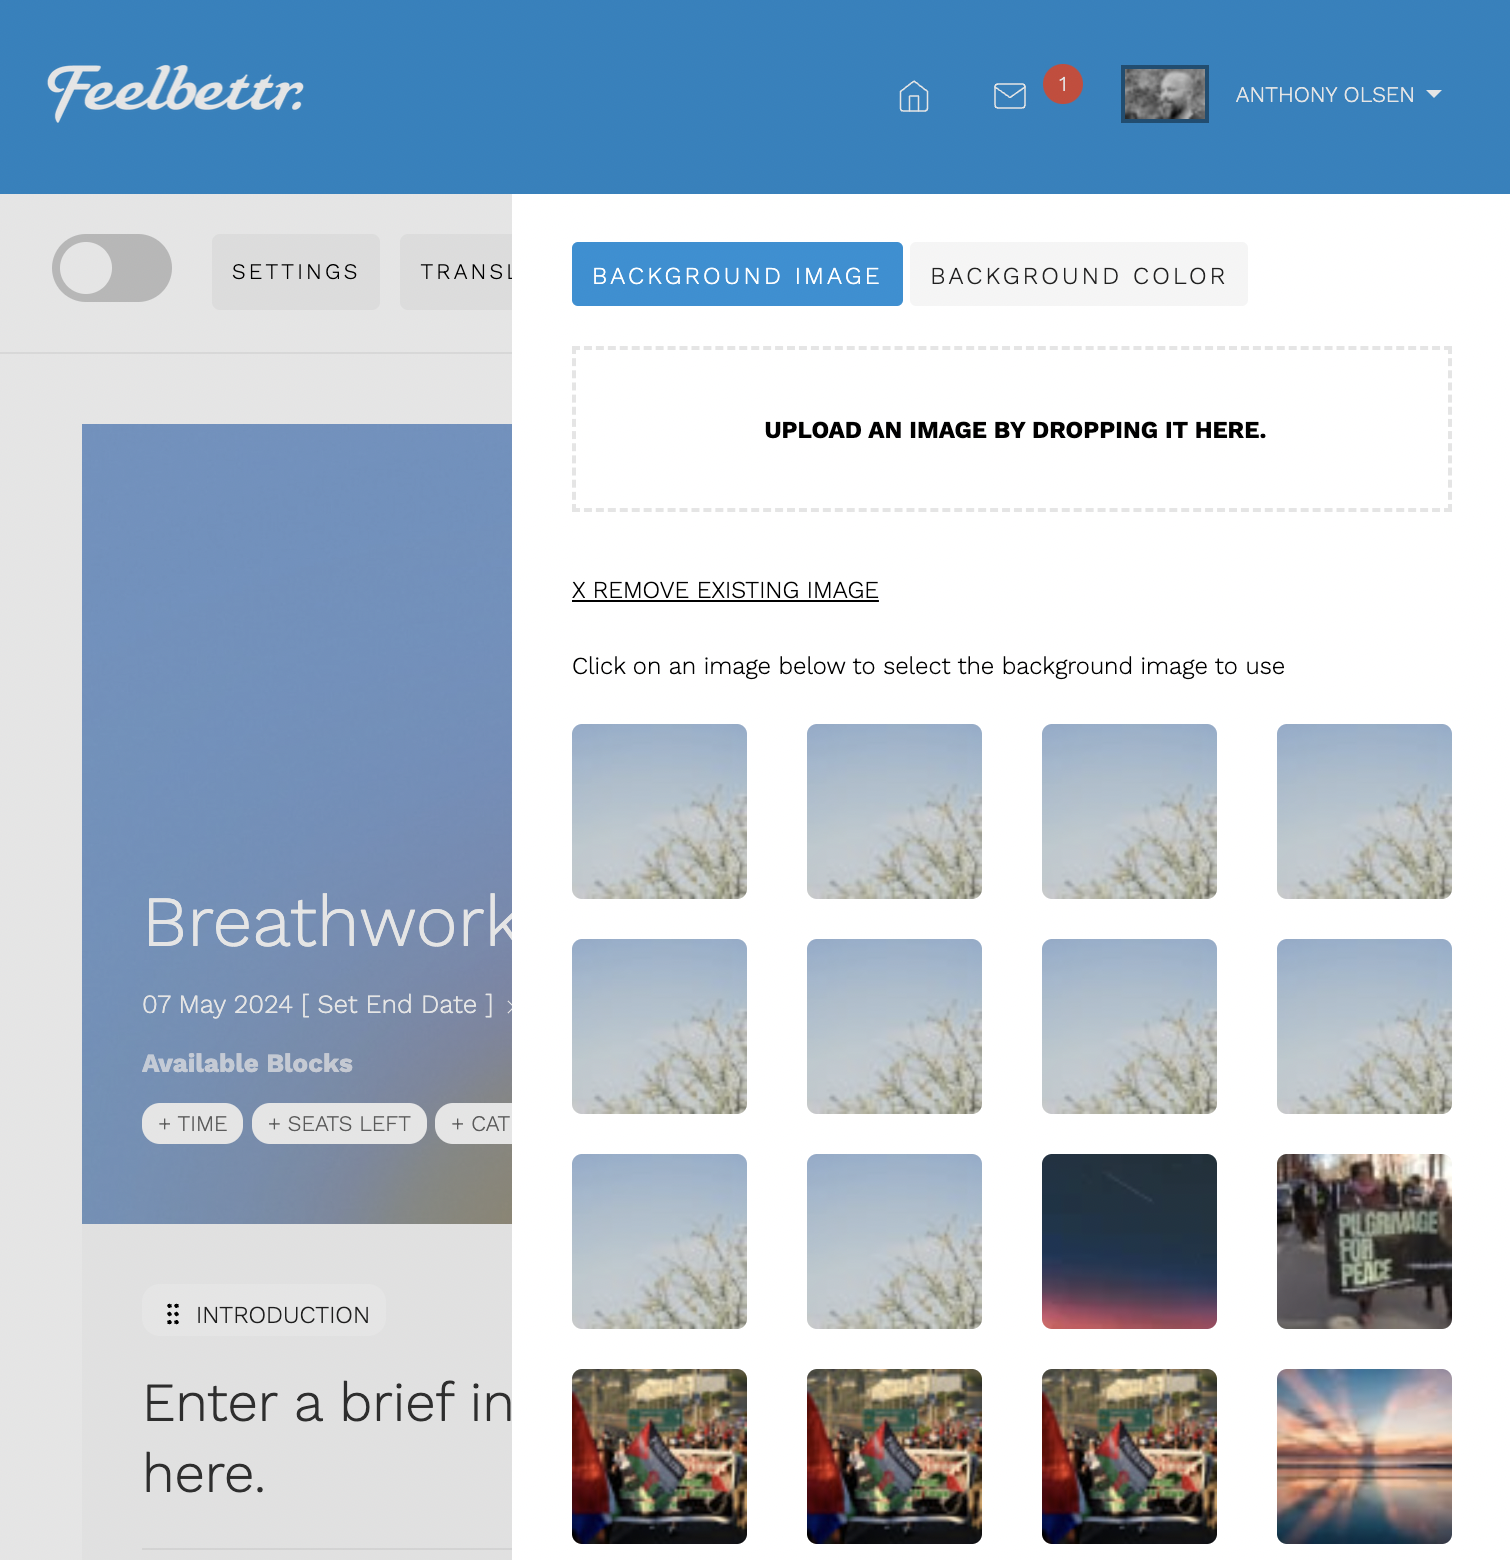
This setting determines the image to be shown underneath the header. The user can upload an image directly in this panel and it will be automatically applied to the header area.
Images are shown here from the users own uploaded files, in a paginated list.
To remove an image from the header click the remove exisitng image button.
Background Colour

This is the colour of the header overlay. The relative opacity of the colour is determiend by the overlay opacity setting above. ie if very dark is selected then the colour used will be 85% of the colour selected, or if opaque is used then the full density of the colour will be applied and the background image if set will not be visible.